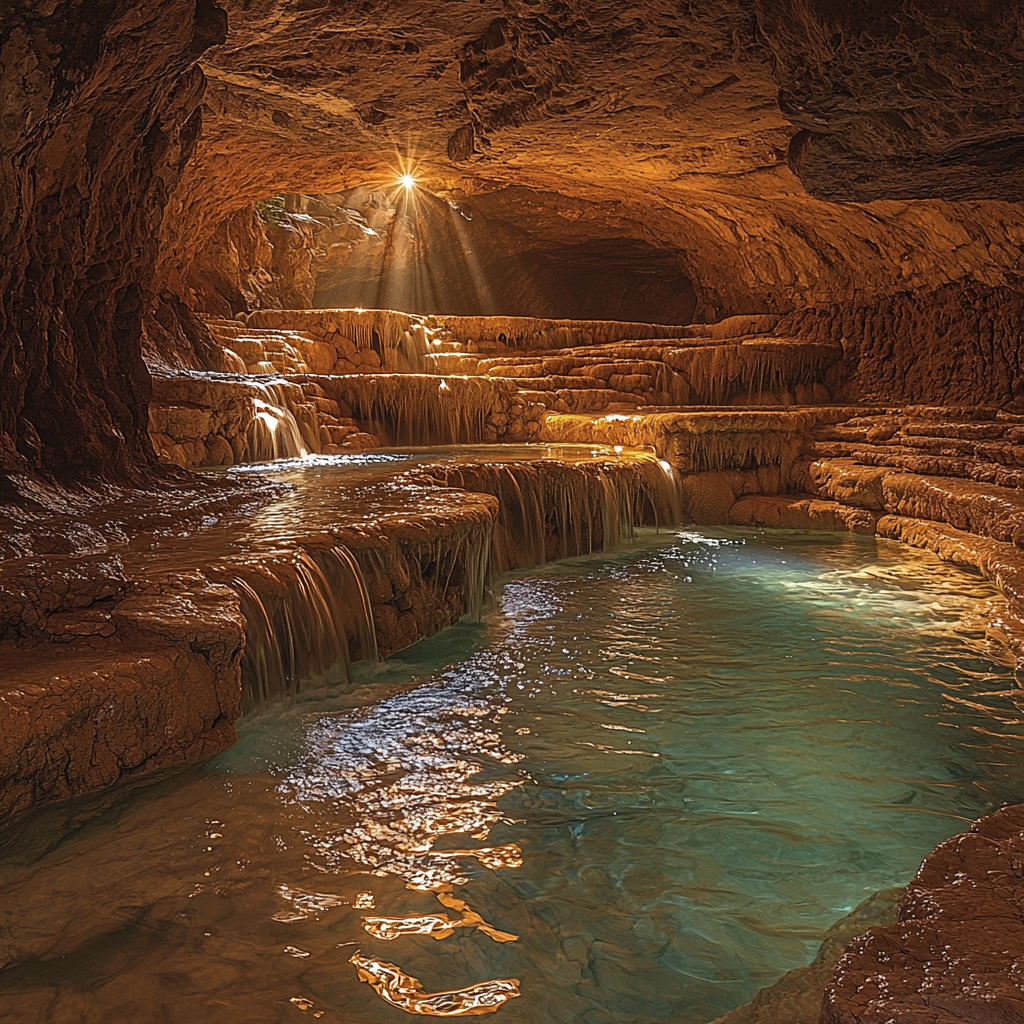
The famous “Subway” hike in Zion National Park has a “difficult” rating on Alltrails and is a 9.1-mile out-and-back trek through the North Creek.
I did a ton of research before it was my turn to navigate the trail, but I was still thrown off by some of the obstacles I endured.
It made me realize that no matter how many people say, “It wasn’t that difficult” or “finding a path was easy,” expect the unexpected.
Once I was a mile or two into the hike, I felt most of my research was useless, and I thought it was necessary to post my experience for anyone looking to complete this hike.
In this article
My impressions
Before I get into the details, let me say that this hike was 100% worth it. The end portion provided some of the most beautiful scenery you have ever seen. I am so glad that I completed it, and I know it will be at the top of my list for the rest of my life.
The hike was very rewarding, both because of the beauty of the subway and because you knew you had conquered something that most people will not get to in their lifetime. If everyone in your party is in decent shape and you prepare yourselves ahead of time, you will make it.
If you are reading this, you already know the drill. This hike requires a permit, and Zion National Park has a lottery system that you must enter months in advance to acquire the license. I did not get my permit in the original lottery.
Instead, once I found out I was denied, I refreshed the calendar page multiple times a day until a slot finally opened on a day that I was going to be in the park. After you complete the signup, you still must pick up your permit at the Zion visitor center the day before or the morning of your hike.
I highly recommend doing this the day before your hike, as you will want to get started as early as possible.
What Should I Bring?
From what I gathered during my research, most of the things needed for this hike were evident for any day hike over 8 miles. Pack a lot of water (3-4 liters per person), bring plenty of snacks, have a reliable GPS or download the Alltrails map ahead of time, prepare to get wet, have sturdy hiking boots with ankle support, and hiking poles are more helpful than not.
Most of this was true. We probably packed too much water and added stress to our backs by carrying the extra weight, but I was okay with being better safe than sorry. We had the usual Clif Bars, PP&J, Ritz Crackers, and an assortment of nuts for snacks.
This was plenty, as we ate a large breakfast before getting to the trailhead. I do not carry a GPS, so the Alltrails map was my source when things got hairy. The map worked well, and I never felt like we were off track until we were getting close to exiting the trail.
My mid-height, waterproof hiking boots provided enough support, but I knew that once they were fully submerged, they would no longer be waterproof. I accepted this early offer, and if you do, the hike will be much easier.
After reading several posts, we elected not to bring hiking poles, as we felt they would become an annoyance. I can see how they would be, as they would not be much help on the rocky trail or in the water, but I wished I had them on the way out.
What About the Route Finding?
The issue was not doing all the research on what to bring and how to be the most prepared ahead of time. It was more so the actual difficulty of some portions of this trail. I read what felt like 20 different articles and blog posts about route finding and the rocky trail with multiple river crossings.
The route finding itself was fun and made the journey to the subway very much enjoyable. Most of the time, when you think you are stuck and have no choice but to go into the knee-deep water, there is likely a path on the other side of the creek.
Early on, we decided to stay on one side for as long as possible to avoid crossing the creek more than we had to. This method worked well on the way to the subway but not as well on the way out.
Before you obtain your permit, the ranger will warn you about going too far away from the creek on “false trails” and areas that may look like trails. We did not run into this issue much, as most of the time, the creek was right next to us.
However, there was one portion where we started climbing high, and I knew that we encountered one of these false trails. We were forced to take a sketchy and steep slide back down toward the river. If you think you are stuck, always stay with the creek. It will be your best friend during this hike.
 During the beginning portion of our hike, I remember saying something like, “I am not sure how people get lost on the way out; it seems pretty hard to miss the exit.” Once we made it to the creek, there were plenty of cairns or items left by hikers to indicate that it was time to exit. It was not until we were nearing the exit point that my anxiety kicked in.
In my head, it seems like all the signs we saw earlier had just disappeared. I made it a point to remember a large white stone you know when you first reach the creek as a landmark. When I thought I had it, we still could not find it immediately.
My advice for quickly finding the exit would be to constantly check your map and stay on the right side of the creek when you know you are getting close. You should be able to follow footprints and eventually run into the trailhead sign.
Finding the route was more complicated than I had expected. Your GPS or map will not help you here; it will just tell you that you are next to the creek and must keep going forward. I think in most of the reviews and articles, it comes off that if you follow the creek, you cannot get lost. While this may be true for the trip to the subway, it is not always true for the way back.
You cannot just walk upstream in certain areas, as massive boulders block the way. This also holds for clearings on either side of the creek.
We occasionally had to backtrack to find the most straightforward creek crossing because the only way to pass was on the opposite side. While this was not necessarily hard, it added valuable time to a long day on the trail.
Is There Bouldering?
Speaking of these massive boulders, this became my main gripe with my research. I read so much about “some bouldering” and “very rocky trail,” but nothing prepared me for what was going on down there in and around the creek. On multiple occasions, the only option was to climb over boulders from 6 to 10 feet tall.
Your boots are likely to be wet and muddy, making this no easy task. It requires upper body strength and stretching your limbs further than you would like. Add a heavy pack and some camera equipment, and you will get an intense workout.
I seriously recommend stretching in the morning, either at the trailhead or before. The last thing you want to endure during this hike is a pulled muscle.
The bouldering reminded me of Old Rag in Shenandoah National Park, my first real encounter with boulders on a trail. I am sure that there were times we could have avoided climbing over a massive boulder if we had been on the other side of the creek or if we had been more willing to walk into the much more profound parts of the water.
It all comes down to decision-making and finding the best route. Do you want to backtrack and see if you can cross the creek, or do you want to keep making progress toward your destination?
Why Do Some Call This Hike Underwhelming or Overrated?
When researching this hike, you will most likely find a post about it being somewhat underwhelmed until you get close to the actual subway. I do not think this is fair. The hike makes it challenging to stop and appreciate what is around you because you are constantly looking for your following route, avoiding brush, and trying to keep your footing on slippery rocks.
There were multiple spots where I wished I could have stopped and set up my camera equipment, but I was either worried about losing daylight or just too focused on getting to the subway as quickly as possible.
In some areas, the overgrown brush obstructs your view of the massive canyon walls around you and the views downstream. When you do find yourself in a clearing, stop and take in the 360-degree views. If you do this, I do not think you will find this hike underwhelming.
If you go into this hike thinking you will walk along a creek and end up at this magical destination, you will likely be disappointed. You might even end up being overwhelmed by what you must endure. We started the day at the same time as a few other groups.
A few passed us and completed the hike much quicker than we did. Others never even made it to the subway. The easy access to pictures on social media makes it seem like this hike is not as challenging as it is. You really must work for this one.
How Long Am I Going to Be on the Trail?
This all depends on how good you are at finding the best route, how good you are in shape, how much time you spend taking pictures, how much time you spend stopping for water and food, and how much time you want to spend on the subway.
I went into this hike expecting to be done in 6-7 hours, as I have done many long day hikes in the past and am usually on the quicker side. This was not one of those hikes. We were on the trail for every bit of 10 hours. I was curious about the large gap when the ranger told me it would take 6-10 hours, but this was clear to me while I was there.
On our hike, we took quite a few breaks for water and snacks. I would say we took more breaks than your average person would, but we knew we were spending our entire day out there, and we did not mind the extra time. It took us about four hours to get to the subway.
We spent about an hour on the subway. I set up camera equipment, ate lunch, and paused to prepare myself for the long journey back.
The journey back should have been shorter, as we were not stopping for as many photos and had already eaten lunch. Like I said earlier, for some reason, route finding seemed more difficult on the way out.
Add to this the fact that we both suffered some minor injuries, and it was another 4 hours out. Dropping down into the canyon is easy; getting back up after a long, exhausting day is much harder. This made for a 10-hour day in the canyon, but I would say it could comfortably be done in 7-8 hours.
Know that you are likely not going to have the subway to yourself. You will share it with the hikers who took the canyoneering route and others who took the same path you did. We were fortunate enough to have it to ourselves for about 20 minutes. If you want to get the iconic subway photos, you must wait your turn, adding more time to your trip.
An excellent spot to eat lunch comes about 75 yards before the subway. There will be room on either side of the creek that is dry. It is pretty cold in the subway, so you won’t mind sitting in the sunlight during this portion.
Trails addict? Check these out
Wrap up
When you make it back to the parking lot, you will likely end up hiking closer to 11 miles. This is because the creek crossings and route finding add distance to your trip. On the way out, we got off course two times and had to navigate backward to find the correct route.
If you prepare for all of this, I do not doubt it will be one of the most enjoyable hikes of your life. There is no place like the subway on earth, and it does not come with the usual Zion crowds.


