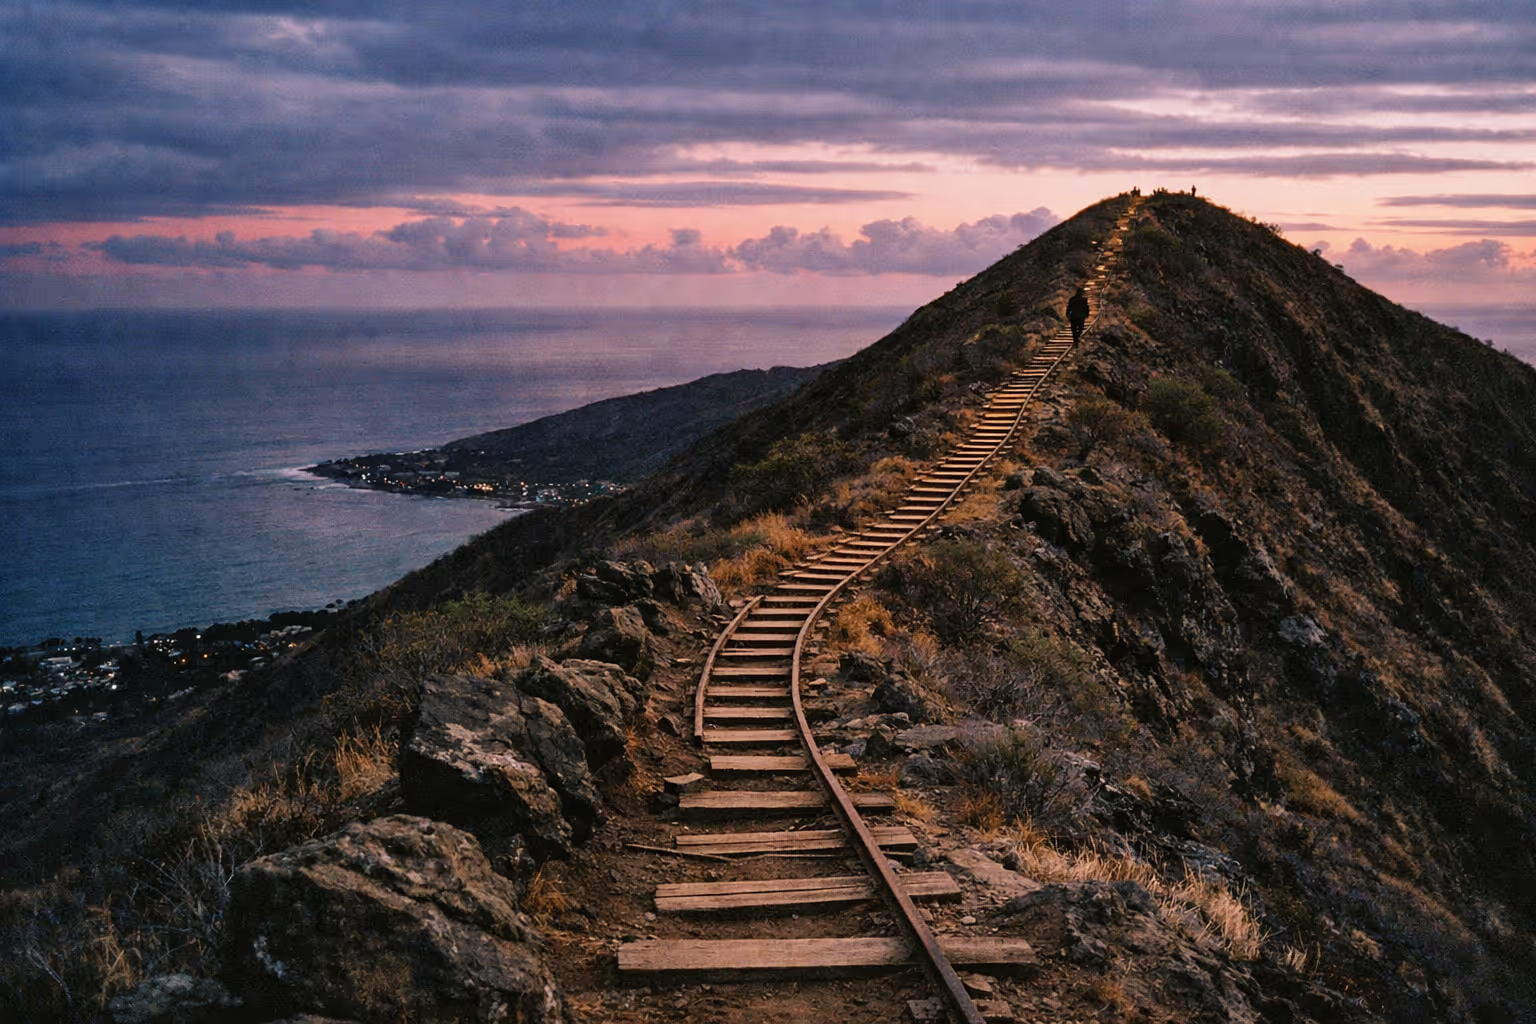
The Koko Head Trail is one of those hikes people underestimate right up until the ties start climbing. I have watched fit runners gas out halfway up its 1,048 railroad ties, because 900-plus feet of gain with zero shade is a very different animal from the tidy 1.8-mile round trip it looks like on paper. Timing, grade, and water discipline decide whether this is a great sunrise or an EMS call. Here is what the climb actually asks of you before you start.
The Numbers: Distance, Steps, and Elevation on the Koko Head Trail
The Koko Head Trail is famous for its intense climb and unique stairway, making these stats the ones that really matter - because calling it a “short hike” is misleading.
- Distance: 1.6-1.8 miles round-trip (0.8-0.9 mi each way) (10)
- Elevation gain: roughly 900-1,200 ft over that single climbing mile
- Steps: 1,048 wooden railroad ties to the top (10)
- Grade: averages 25-30%, with final sections reported as steep as 45% (1)
- Summit elevation: around 1,200 ft above sea level
- Trail surface: old railroad ties and gravel, including a short “bridge” section over a gap in the ground (10)
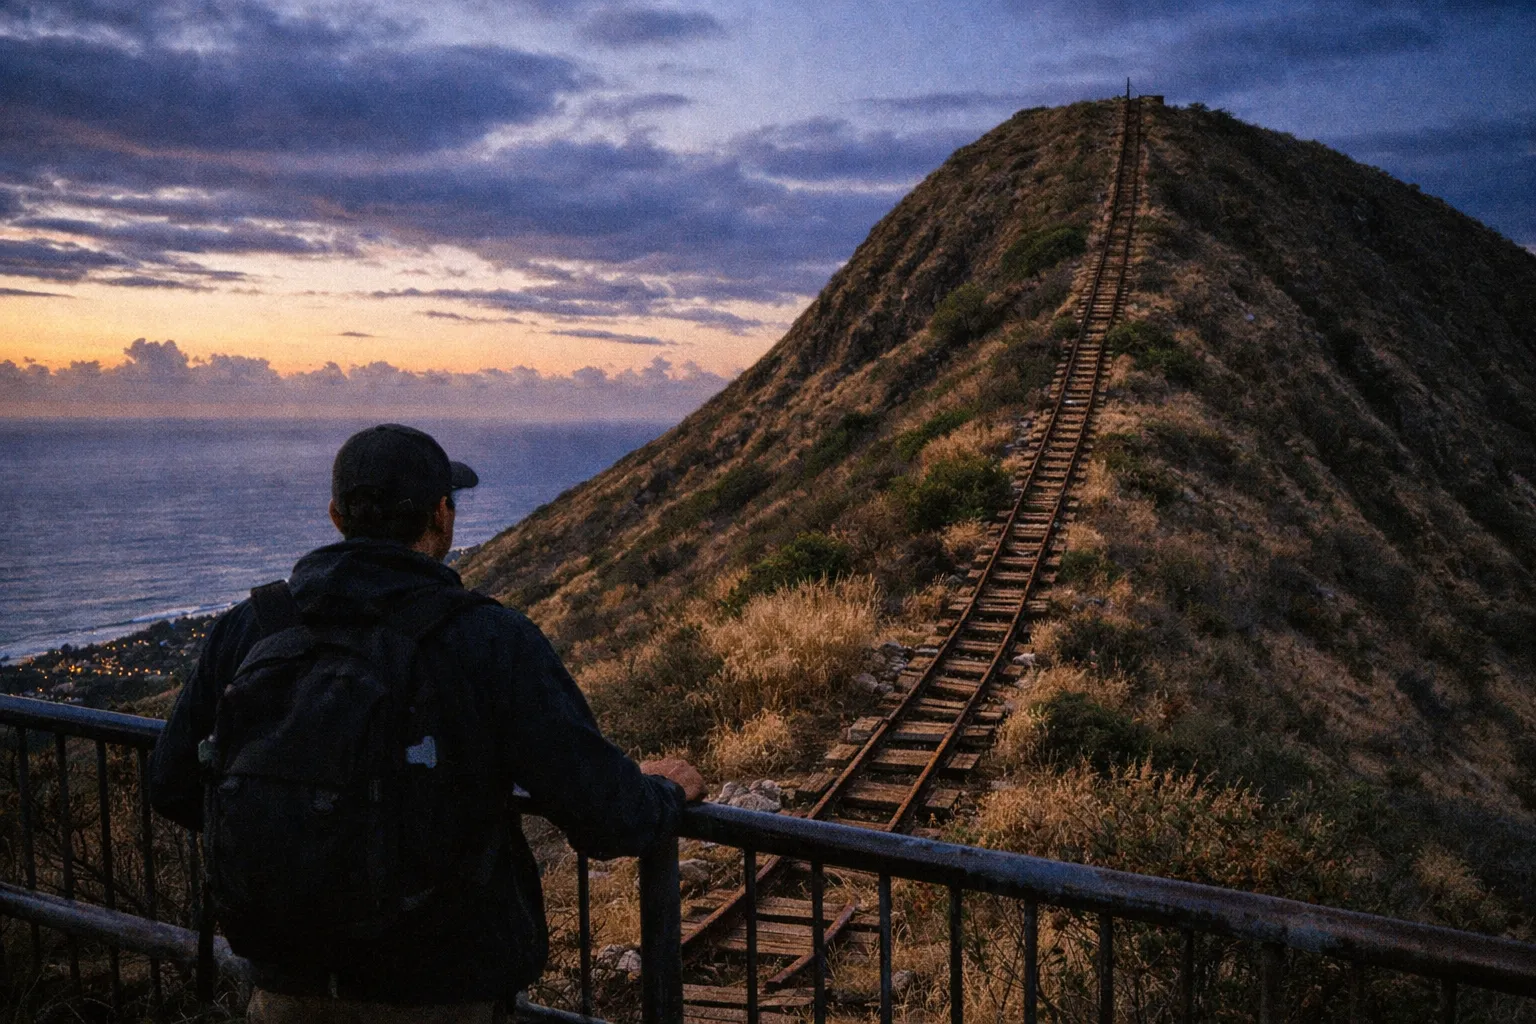
The steps aren’t uniform. Some are shin-high, some are a normal stair rise, and a few have washed out into gaps you step over. There’s no railing, no switchbacks, no shade. You look up, you see the line of ties disappearing into the sky, and you climb.
How Difficult Is the Climb?
Hard. Guide sites and hiking blogs almost universally rate it “challenging” or “hard” (10), and the reason isn’t the length - it’s the combination of a 25-30% average grade, 1,048 irregular steps, and zero cover from the sun.
To put the Koko Head stairs in terms you can feel: 1,048 steps works out to roughly 95-100 flights of standard stairs (using about 10-11 steps per flight). Imagine climbing a 95-story building outdoors, on uneven wooden ties, in 85°F heat with the sun bouncing off dark rock and gravel. That’s the effort.
A reasonable baseline before you attempt it: you should be able to climb 40-60 flights of stairs continuously and walk 2-3 miles without trouble. If that sounds rough, hike partway - more on that below - rather than gutting it out and cramping halfway up.
Safety note: This trail is fully exposed and the grade tops 25%. If you have knee, hip, heart, or respiratory conditions, talk to a clinician before attempting it. Heat exhaustion is a real and recurring problem here - social media reports through 2025-2026 document hikers needing EMS help on hot days after starting mid-morning without water (9). The descent is where people fall; the tall ties and loose gravel punish smooth-soled shoes.
How Long Does It Take to Hike Koko Head?
Depends entirely on your fitness and how much you stop.
- Fit, acclimated hikers: 25-40 minutes up, 15-30 minutes down (3)
- Average visitors: 45-60 minutes up, 25-45 minutes down - total 1-2 hours (3)
- Sunrise or sunset photographers: add 30-60 minutes of buffer for setup, crowds, and pacing in low light
I did the climb in about 35 minutes at a steady pace with two short breaks, and came down in 20. Plan for closer to 90 minutes to two hours if it’s your first time, you’re stopping for photos, or you’re not used to stair climbing.
One pacing tip that actually works: on the steepest final 200-300 steps, use a “two-step then pause” rhythm rather than sprinting and collapsing. It keeps your heart rate steadier. On the way down, if your knees complain, descend sideways on the steep sections - it cuts the load on your kneecaps noticeably.
Is Koko Head Harder Than Diamond Head?
Yes, and it isn’t close.
Koko Head gains roughly 900-1,200 ft over 0.8 mi, while Diamond Head gains about 500-560 ft over a longer, gentler trail. Koko Head has over 1,000 steps; Diamond Head has around 560, spread across ramps, tunnels, and switchbacks with occasional shade. Diamond Head is a scenic walk most people in decent shape can finish comfortably. Koko Head is a fitness benchmark - locals do “doubles” and “triples” to train.
If you’re deciding between the two: Diamond Head is the better choice for families, casual visitors, or anyone who wants the view without the suffering. Koko Head is for people who want the workout and the payoff of Hanauma Bay, the ocean, and Honolulu spread out below. Don’t assume the two are interchangeable because both are “Oahu stair hikes” - Koko is roughly double the vertical in less distance (2).
How to Get to the Koko Head Trail
The trailhead sits at the rear of Koko Head District Park, behind the ball fields in the Hawaii Kai area of Honolulu. It’s about 25-45 minutes by car from Waikīkī depending on traffic (6). The trail starts where the visible rail line begins climbing the crater slope - you can’t miss it.
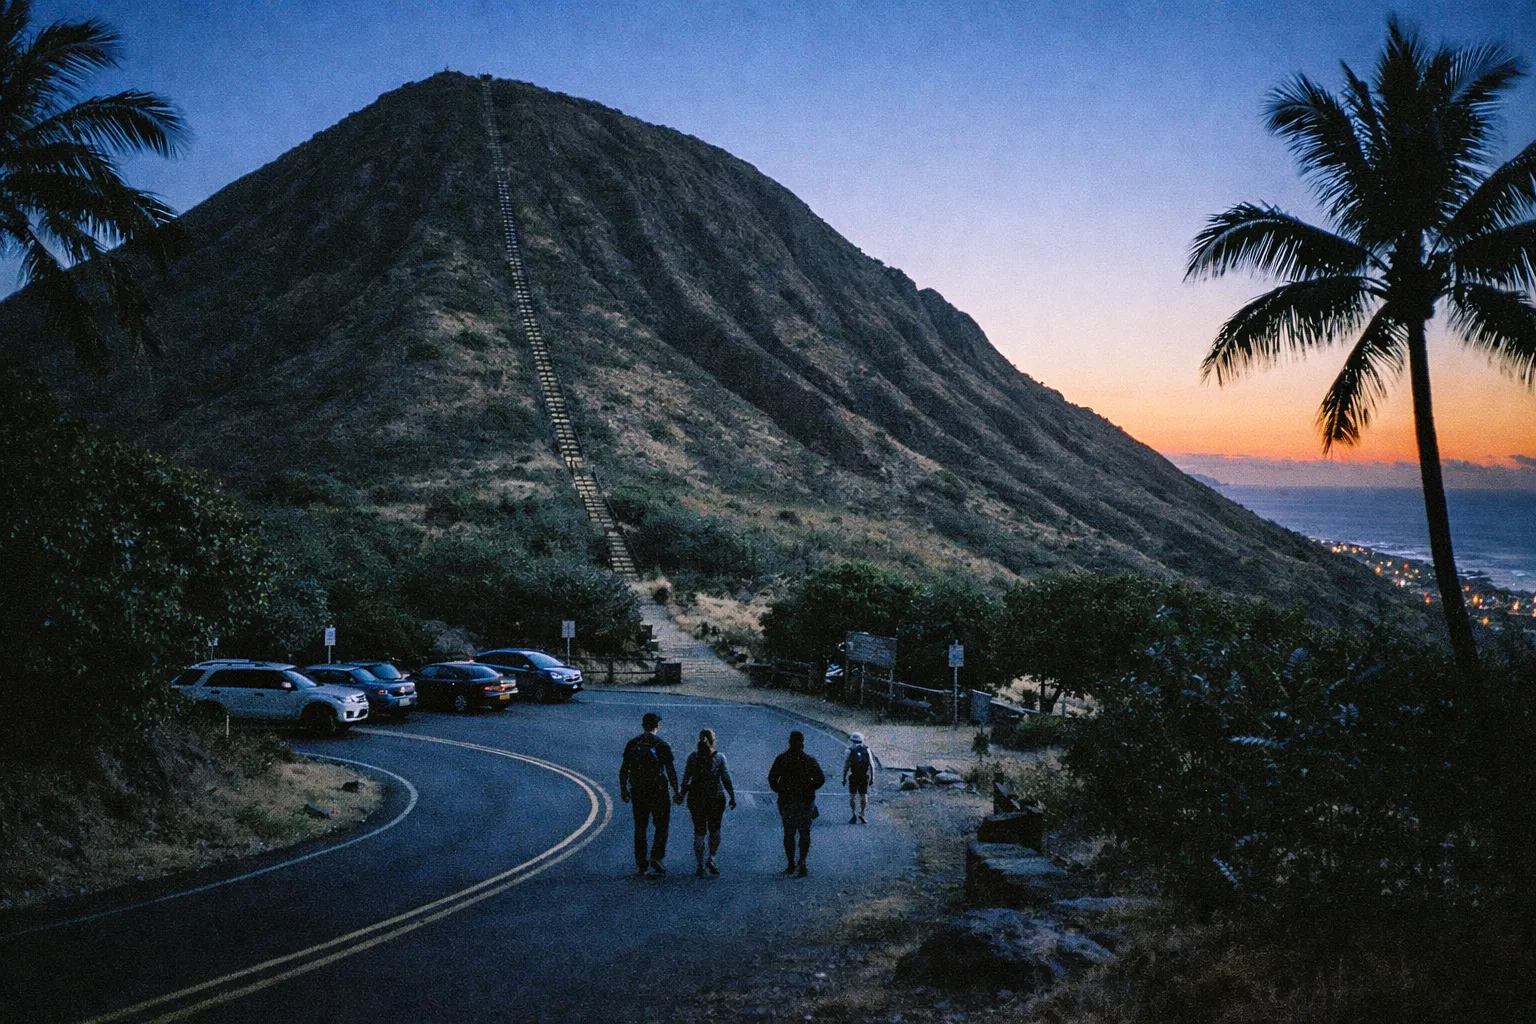
Driving and parking: There’s a small lot near the baseball fields. Expect a parking fee in the range of $0-$10 per vehicle depending on current Honolulu visitor and resident fee rules (4). The lot is small and fills by 7-8 a.m. on weekends. Arrive after that and you’ll be walking 10-20 minutes from overflow street parking.
TheBus: From Waikīkī, plan on 1-2 transfers and 50-75 minutes one way, plus a 0.5-1 mile walk from the nearest stop. Fare is around $3-$4 one way for adults. Cheap, but slow.
Rideshare: Uber or Lyft one way from Waikīkī runs $25-$40 depending on time and surge. Both ways for two people lands around $50-$80 total.
Guided tours: Group tours that include a Koko Head stop start around $80 per adult and often combine it with snorkeling at Hanauma Bay or a stop at Makapu’u. Private hikes with hotel pickup can exceed $150 per person. There’s no admission fee for the trail itself - you’re paying for transport, a guide, and convenience.
Trailhead basics: Restrooms are usually available at the park near the parking area, but they may not be open pre-dawn or after sunset, so plan accordingly. There are no concessions at the trailhead - no vendors, no water fountain you should count on. Bring everything you need.
What to Bring and Wear
The right gear here isn’t about comfort - it’s about not slipping on the descent and not overheating on the climb.
- Footwear: Closed-toe shoes with real tread. Trail runners with an aggressive tread grip the loose gravel far better than fashion sneakers. Skip sandals entirely - the ties are uneven and tall, and downhill falls in flip-flops are how people twist ankles.
- Water: At least 1-1.5 L per person, 2 L if you’re slower or hiking after 9 a.m. There is nowhere to refill.
- Sun protection: A UPF 30-50 hat, sunglasses, SPF 30+ sunscreen, and a lightweight long-sleeve shirt. The dark ties and rock radiate heat - surface temps can top 90-100°F midday.
- Electrolytes: Nuun tablets or Liquid I.V. if you sweat heavily. Plain water isn’t enough on a hot climb.
- Headlamp: Required for sunrise or sunset hikes. Phone light works in a pinch, but keep your battery above 50%.
- Trekking poles: Optional, but genuinely helpful on the descent if your knees are sensitive.
- Small daypack: To carry all of the above without your hands full - you’ll want free hands on the bridge section.
The Bridge Section
About a third to halfway up, the ties cross a gap in the ground - a stretch people call “the bridge.” The ties are solid and there’s dirt visible below rather than a sheer drop, but if you’re afraid of heights, this is where you’ll freeze.
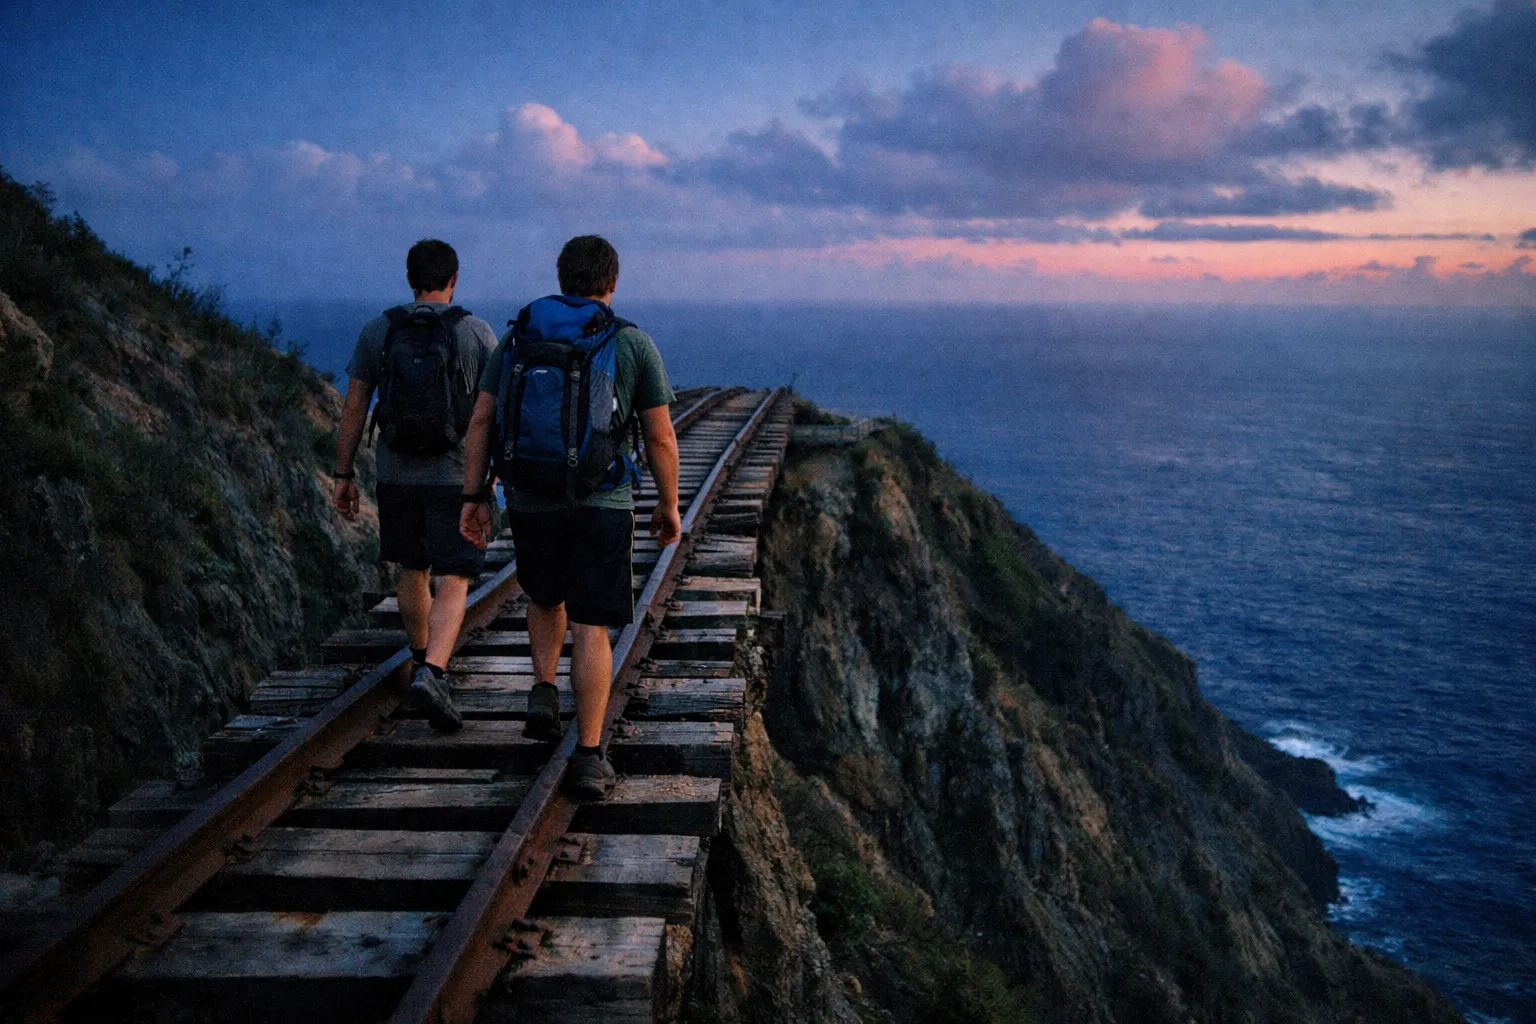
If the bridge makes you nervous: step on the center of each tie, focus on the next one or two ahead instead of looking down, and follow closely behind a confident hiker. Some people bypass it on an unofficial dirt path around the side. I don’t recommend it - it’s eroded, unmaintained, and not obviously safer than just walking the ties. If you’re going to cross, cross the ties.
Reaching the bridge is also a legitimate turnaround point. It’s about 300-500 steps in and already delivers a solid view over Hawaii Kai. There’s no shame in stopping here if the heat or the grade is getting to you.
Routes for Every Fitness Level
You don’t have to do the full summit-and-back to get something out of this.
Beginner / cautious: Climb only to the bridge section (roughly 300-500 steps), then turn around. You still get views over Hawaii Kai and the coast without committing to the full 1,048 steps. Or skip the stairs entirely and walk the botanical garden loop below.
Intermediate / fitness-oriented: The standard summit hike - 1.6-1.8 mi round-trip, 900-1,200 ft gain, 1-1.5 hours total at a moderate pace (10). Break the climb into segments of 100-200 steps, resting at the rail landings to manage your heart rate. This is how a lot of locals do it.
Advanced / athletes: “Doubles” and “triples” - multiple ascents in one session for 2,000-3,000+ steps and 1,800-3,600+ ft of vertical. Popular with trail runners and military. You can also add the Koko Crater Rim Trail, a 3-3.5 mi loop around the crater rim with some scrambly sections, for a half-day challenge (8).
If you want to train before your trip: simulate the effort on a stair machine at 60-80 steps per minute for 15-20 minutes, or climb a 10-15 story building two to three times in one session. Hydrate with 500-750 ml of water in the hour before you hike.
Koko Head Crater Botanical Garden
Inside the crater itself, the Koko Head crater botanical garden offers a completely different experience: a mostly flat 1.5-2 mile loop through cactus, plumeria, and native Hawaiian plantings. Admission is free, hours run sunrise to sunset daily, and you should budget about 1.5 hours to walk the loop (5).
This is the smart alternative if the stairs aren’t realistic for your group - kids, older visitors, anyone who wants the crater scenery without the vertical. It’s also a solid pairing after the stair climb if you’ve got the time and want a low-effort cooldown walk. Worth noting: the garden entrance is a short drive around from the stair trailhead, not directly connected to it.
Best Time to Hike and Beating the Crowds
The trail is essentially unshaded, and mid-day on a sunny day is miserable - that’s not an exaggeration, it’s the single biggest mistake visitors make. Dark ties and rock amplify the heat, and starting after 9-10 a.m. without at least a liter of water is a recurring cause of cramps, dizziness, and EMS calls (9).
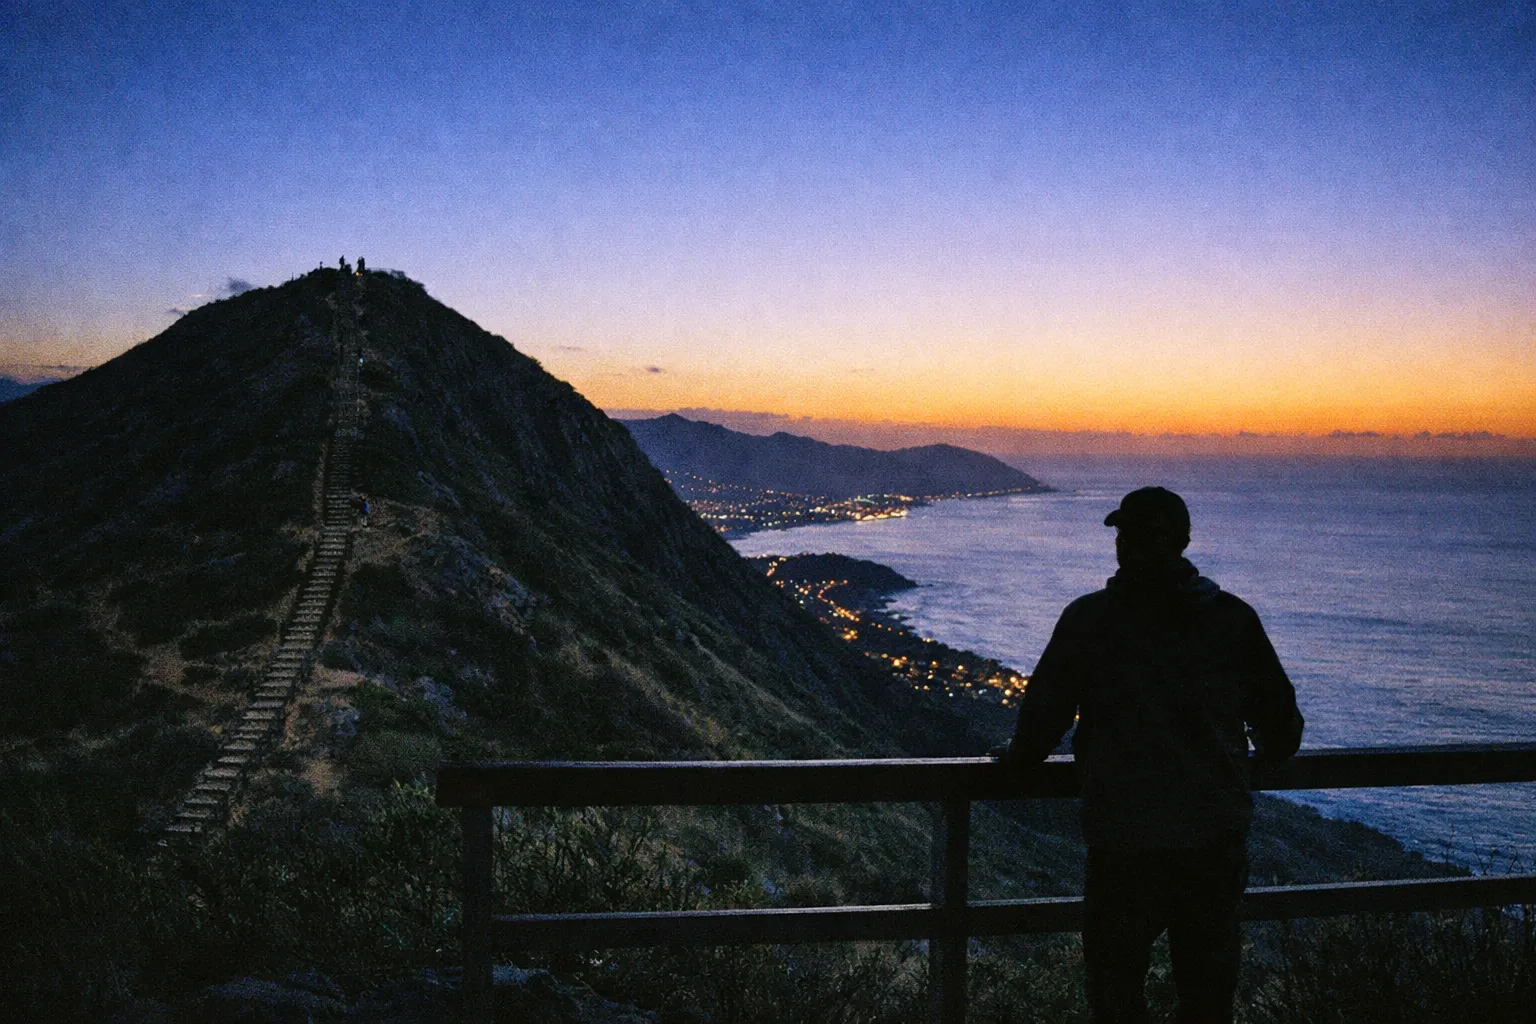
Best windows:
- Sunrise to about 9:00 a.m. - cooler, lower UV, and you can catch sunrise from the summit. Arrive 30-45 minutes before official sunrise if that’s your goal, and bring a headlamp and a wind layer.
- Late afternoon after 4:30 p.m. - cooler again, good light. If you’re chasing sunset, leave the summit at least 30-40 minutes before sunset so you’re not descending the steep steps in full dark.
On weekdays, starting before 7 a.m. or after 4:30 p.m. can cut the crowds by 20-40% compared to the mid-morning weekend peak. Fewer people also means less congestion at the bridge, where nervous hikers create bottlenecks.
If you’re after Koko crater railway trailhead photos, the summit is the payoff - Hanauma Bay, the Pacific, and Honolulu laid out below. The line of ties running straight up the slope also makes for a strong shot looking back down, though it’s a common enough angle that you’ll recognize it from every Oʻahu hiking feed. If you enjoy island hopping in Hawaii, pairing this summit with a visit to a neighboring island’s trails makes for a well-rounded trip.
Recent Trail Updates
The City and County of Honolulu announced a project to replace the deteriorated viewing platform atop Koko Crater’s summit with a new steel structure built for recreational use (7). The announcement referenced the popularity of the roughly 1,050-step tramway trail and noted the potential for intermittent closures during construction. Before you go, check the Honolulu Department of Parks and Recreation for current status - there may be temporary summit or trail closures tied to the work.
Local advocacy groups and the city have periodically repaired the railroad ties and addressed erosion to keep the 1,048-step structure safe under heavy use. Heat-related EMS calls have prompted renewed emphasis on carrying enough water, avoiding mid-day starts, and watching for signs of heat illness (9). For a broader look at staying safe on exposed climbs like this one, the guidance on Hawaii volcano safety applies equally well to any steep, sun-baked Hawaiian trail.
✓ Pros
- Short distance with a very intense vertical climb
- Unique stairway of 1,048 wooden railroad ties
- No admission fee for the trail
- Great payoff views of Hanauma Bay and Honolulu
✗ Cons
- Extremely steep and exposed with no shade
- Uneven, irregular steps with some gaps
- Parking fills early and limited facilities
- Heat exhaustion risk on mid-day hikes
Frequently Asked Questions
- Can I bring pets on the Koko Head Trail?
- Pets are generally not allowed on the Koko Head Trail due to safety concerns and trail conditions.
- Is the trail suitable for children or elderly hikers?
- The full stair climb is not recommended for children or elderly due to steepness and exposure; the botanical garden loop is a better option.
- Are there water refill stations on the trail?
- No, there are no water refill stations on the trail; bring all the water you need before starting.
- What footwear is best for the descent?
- Shoes with good tread and grip prevent slipping on loose gravel and uneven ties.
- Is it safe to hike the trail during midday?
- Hiking midday is risky due to heat and sun exposure; start early or late afternoon to avoid heat exhaustion.
- Can I bypass the bridge section if I'm afraid of heights?
- There is an unofficial dirt path around the bridge, but it's eroded and not safer; crossing the ties is recommended.
- Are guided tours worth it for this hike?
- Guided tours add convenience and transport but cost $80+; solo hikers save money but must plan logistics carefully.