The Hawaii hiking safety tips that actually save lives are about water, not views. Just six inches of moving stream can knock you off your feet, so never cross flowing water near a foot deep, and wait 24 to 48 hours after heavy rain before hiking waterfalls, the Road to Hana, or Kalalau. Carry a liter of water for every hour on the trail, since heat exhaustion cases almost always start under-hydrated. Leave flip-flops at the beach; the tread and drainage of real hiking shoes are not optional here.
Choosing the right gear for the trails
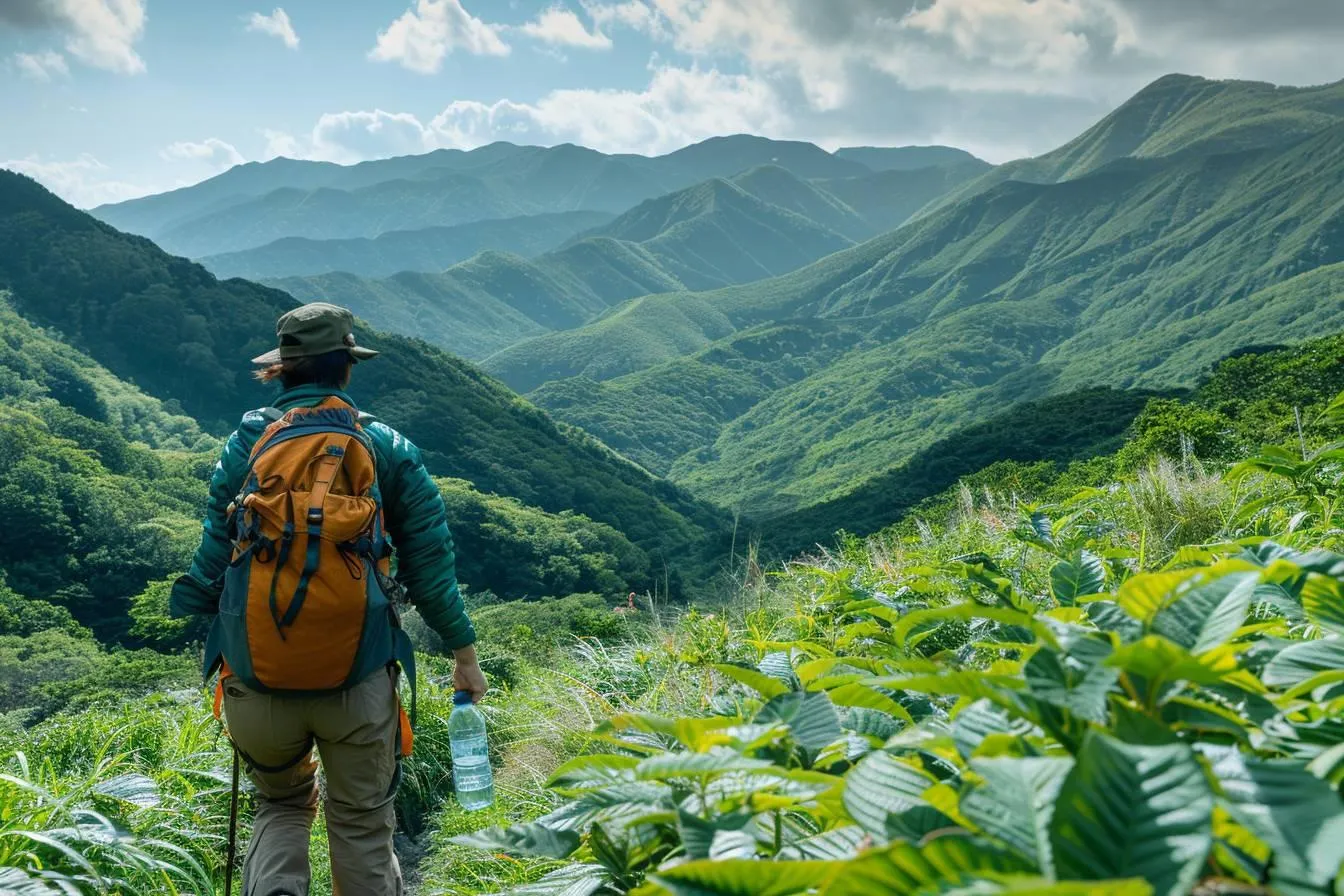
When preparing for a hike, following Hawaii hiking safety tips is essential to handle the island’s unpredictable terrain and weather. Your gear is your first line of defense, and footwear tops the list since it’s the most common weak link.
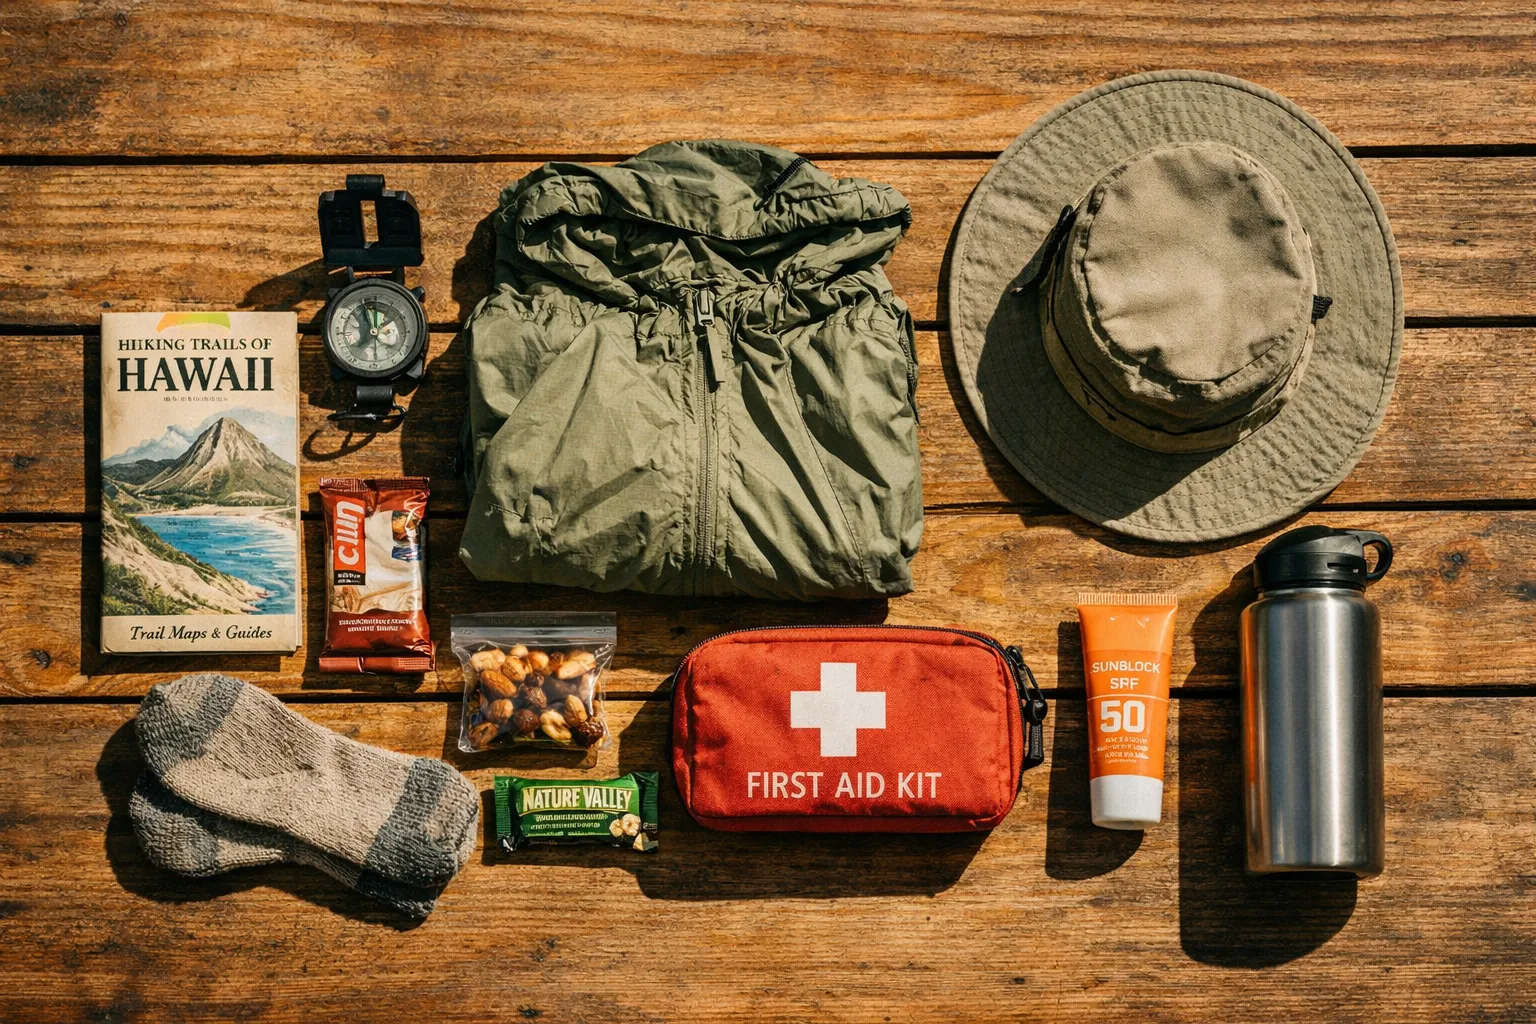
The Hawaiʻi Department of Land and Natural Resources (DLNR) and local guides don’t sugarcoat it: no flip-flops, no sandals, no smooth soles. Trails like Kalalau are slippery year-round, with wet rock and mud. GoHā’ena links sandals directly to injuries there (9). If you’re crossing lava fields or slick mud, your boots need aggressive tread and solid traction.
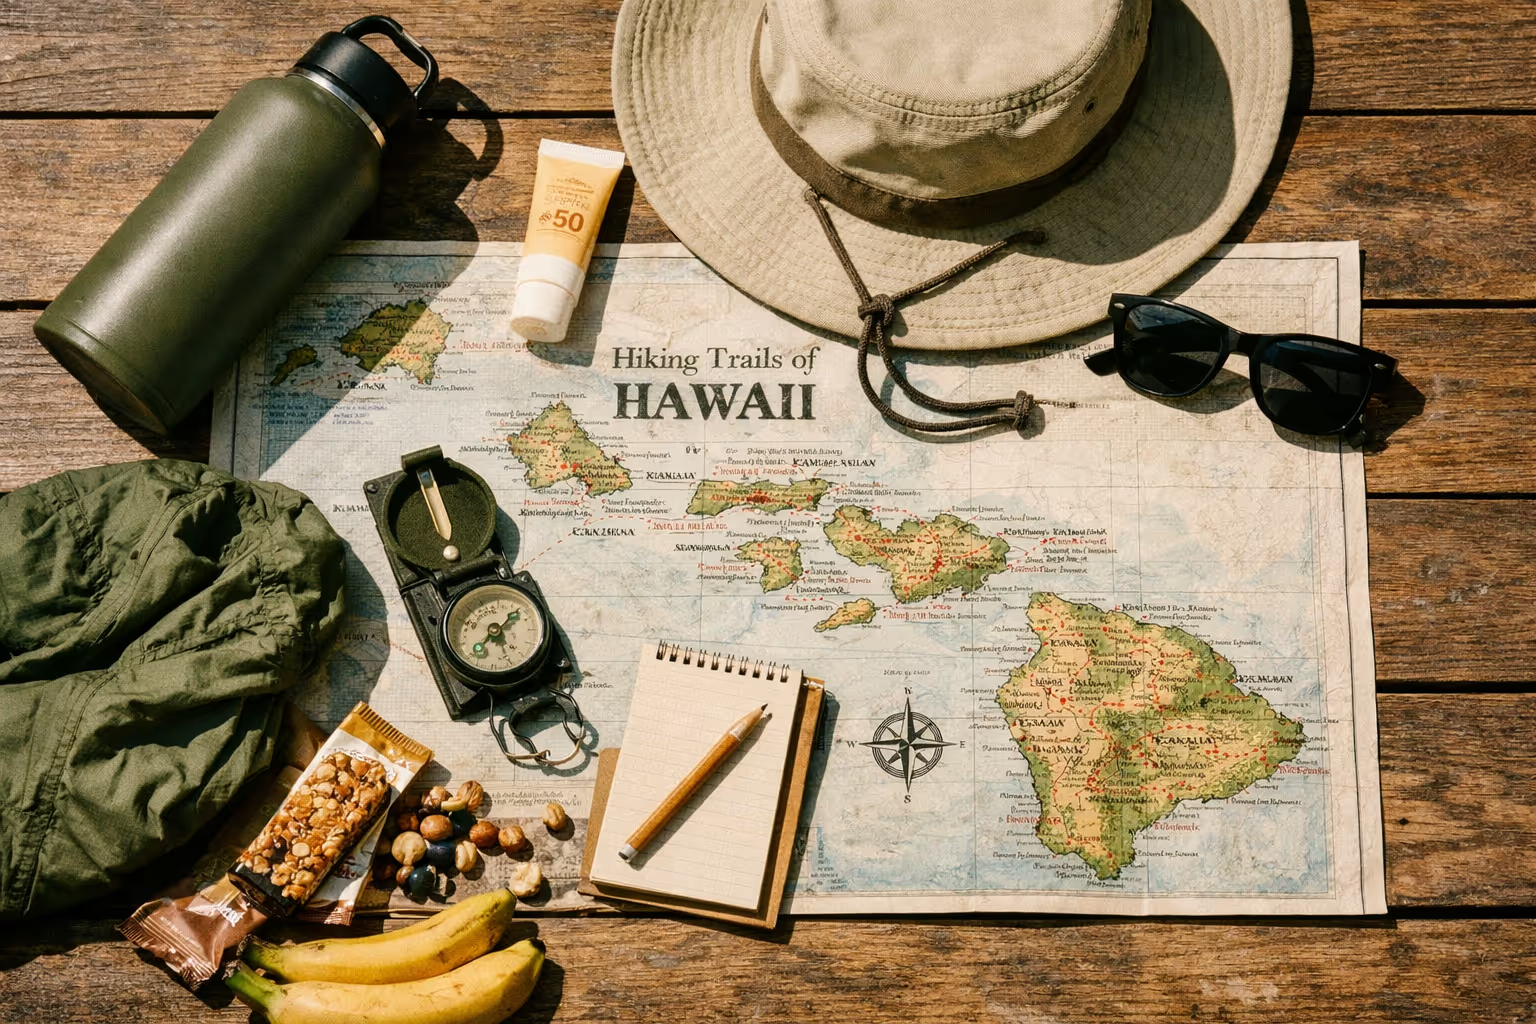
Here’s a core hiking gear checklist Hawaii based on DLNR and local advice (1)(3)(5)(7):
- 2-3 liters of water per person (more on hydration below)
- High-SPF sunscreen, SPF 30-50
- Brimmed hat and UV-blocking sunglasses
- Light rain jacket, 5-10 ounces
- Basic first-aid kit ($5-$15 gets a decent one)
- Headlamp or flashlight - even for day hikes
- Charged phone
- Whistle for signaling
- Trekking poles ($20-$40) for muddy, steep spots
A cheap but smart DLNR tip: pack a plastic garbage bag. It doubles as emergency rain gear, a ground cover, or a way to pack out trash - without adding weight.
Light, breathable clothing handles the heat best, but never skip that waterproof layer. On a Waipio Valley hike I did last November, a sudden downpour soaked the trail, and the rain jacket saved me. That kind of weather isn’t unusual here.
What to wear when hiking in Hawaii
Deciding what to wear hiking in Hawaii comes down to heat, sun, and rain - often all in one afternoon.
Go for lightweight, quick-drying synthetic or merino fabrics. Cotton soaks up water, stays heavy, and chafes in humidity. At higher elevation, UV exposure spikes, so light long sleeves often beat sunscreen alone.
Wear or carry something bright. DLNR recommends bright colors so rescuers can spot you easily, and suggests waving a colored item or using a flashlight or camera flash at night (7). A neon shirt isn’t a fashion choice here - it’s a safety tool.
Avoid gear that slows quick escapes near water. If you cross shallow streams, loosen your pack straps first so you can ditch it if you fall, rather than getting pinned by a waterlogged load (2). For a broader look at staying safe in Hawaii’s ocean and waterways, safe adventures in Hawaii’s ocean covers the risks that extend beyond the trailhead.
Hydration and nutrition on the trail
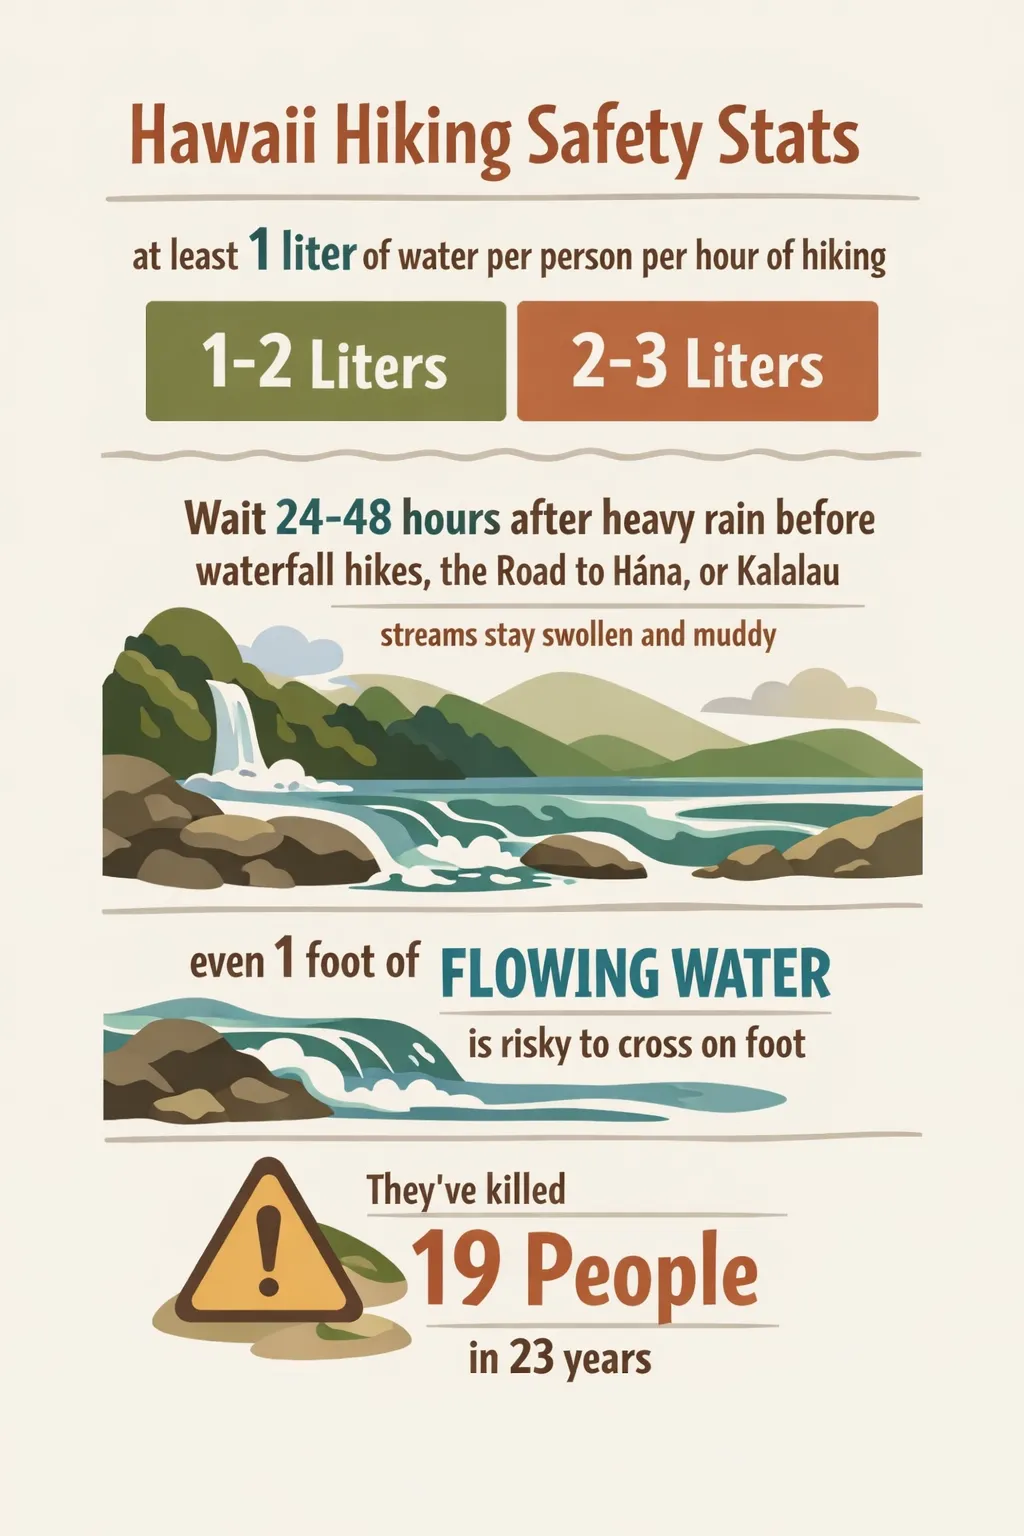 Hydration and flood-risk figures from Hawaii hiking safety tips; numbers drawn from Hawaiʻi Emergency Management and DLNR guidance.
Hydration is often overlooked but critical in Hawaii’s humid, high-UV conditions. Local guidance calls for at least 1 liter of water per person per hour of hiking (5). Many visitors bring less than a liter for a half-day hike and end up with heat exhaustion (5).
To put that in perspective:
- Short signed trail (1-3 miles): 1-2 liters
- Ridge or valley hike (4-8 miles): 2-3 liters
- All-day route: plan refills and bring electrolytes
Electrolytes are crucial. Drinking only water risks hyponatremia - low blood sodium. Sports drinks or electrolyte mixes balance hydration.
Nutrition fuels tougher terrain. Pack high-energy, portable snacks - nuts, energy bars, dried fruit. On the Na Pali Coast, I found regular snack breaks kept energy steady. Know where you can refill water and plan meals around the route, not the other way.
Staying safe from flash floods while hiking in Hawaii
Flash floods are the deadliest hazard here, and also the least understood. They’ve killed 19 people in 23 years and caused over $250 million in damage, per Hawaiʻi Emergency Management (10).
What trips people up: rain miles away can send a sudden wall of water down a valley that looks clear. Streams on the Kalalau Trail are flagged as “high risk for unexpected FLASH FLOODING” by GoHā’ena, which advises sheltering in place if water rises instead of trying to cross (9).
Water depth matters - and much less is dangerous than you’d guess. GoHawaii warns even 1 foot of flowing water is risky to cross on foot, and other sources say 6 inches can knock you over (10). If a stream looks murky, fast, or is rising - don’t cross. Debris and current do the rest.
Rules for flood safety:
- Never cross flowing water around a foot deep or when it’s brown and moving.
- Wait 24-48 hours after heavy rain before waterfall hikes, the Road to Hāna, or Kalalau - streams stay swollen and muddy (6).
- If water levels rise while you’re between crossings, shelter in place. Don’t risk crossing before it worsens (9).
- Never hike with a baby carrier on exposed or flood-prone routes like Kalalau (9).
Weather dangers on Hawaii’s trails
Weather here shifts fast. One minute you’re baking in sun, the next you’re soaked. That’s why a light rain layer is always in my pack.
Start early. Experts and local guidance suggest hitting the trail by 8-9 a.m. and finishing at least an hour before dusk (3)(5). Early starts avoid the midday heat and afternoon showers that spike flash-flood and lightning risk in valleys and ridges (6).
Check multiple weather sources before heading out - Weather Channel, AccuWeather, Weather Underground - don’t rely on just one (1)(3). If storms loom, skip valley and waterfall hikes and pick drier terrain. On ridges, fog can drop visibility to near zero, which is how hikers walk off exposed edges. If the ridge fog rolls in, stop and wait it out.
Know your turnaround time and stick to it. Add 30-60 minutes to your route estimate for photos, mud, and stream delays. Work backward from sunset (5)(7). Getting caught in the dark on slippery, unfamiliar terrain turns minor problems into rescue calls.
Choosing the best hiking boots for Hawaii trails
The best hiking boots for Hawaii solve two problems mainland boots often overlook: constant wetness and steep mud. You want aggressive lugs for grip and a design that drains or dries instead of trapping water.
Two categories work well here:
- Waterproof (GTX) boots like the La Sportiva Nucleo High II GTX or Danner Mountain 600 Leaf GTX - solid for muddy, cooler, higher-elevation hikes where you want to keep water out (4)(8). The catch: if water gets in above the collar during stream crossings, it stays inside.
- Non-waterproof trail runners or ventilated shoes - better for hikes with repeated stream crossings. They drain and dry between crossings rather than holding water.
Whichever you pick, prioritize deep tread and sticky rubber over ankle height alone. Mud sheds better from widely spaced lugs.
You don’t have to buy top-dollar boots to stay safe. Athletic shoes with good tread work for shorter, drier trails - DLNR’s rule is “no flip-flops or sandals,” not “buy $200 boots”. Spend first on a whistle and first-aid kit; upgrade footwear when you tackle tougher routes. If you want a full rundown of what to pack beyond the trail, the Hawaii travel tips guide covers hostels, airports, and budget gear in one place.
A note on conservation and trail hygiene: clean your boots before and after hiking. Boot-brush stations exist to stop invasive species and Rapid ‘Ōhi’a Death.
Mastering navigation: maps and compasses
Some Hawaii trails are well marked. Many aren’t. Carry a detailed map and compass, and know how to use them - no battery or signal needed.
Stick to official trail resources. The DLNR Nā Ala Hele system and its Outerspatial app show signed, managed trails and closures. This isn’t just convenience: hiking closed, unsigned, or unofficial trails can be illegal, may cross private property, and often means dangerous terrain. The popular “for the ‘gram” routes on social media tend to be the unmaintained, risky ones - skip them.
Check trail conditions and weather before you leave. This simple step avoids classic traps: flash floods in valleys or fog swallowing ridges.
Navigating Hawaii’s unique challenges
Beyond weather, volcanic terrain and elevation catch many off guard.
On the Big Island, trails near active volcanoes like Kīlauea require caution. Stay on marked trails to avoid unstable ground and toxic gas pockets. For a deeper look at the specific risks around lava fields and volcanic gases, Hawaii volcano safety is worth reading before you head out. Hiking near Kīlauea is a reminder how fast conditions can change - follow safety rules strictly.
Elevation varies widely. You might hike at sea level one day and climb high the next. Take it slow, stay hydrated, and pay attention to how your body reacts.
The key rule from DLNR: most accidents happen when hikers leave established trails (7). Stop at junctions, don’t hike solo on unfamiliar routes, and always tell someone your plan and expected return (1)(3)(7).
If you get lost or into trouble
If things go wrong, call 911 immediately with the trail name and details (3)(7).
If you’re lost, DLNR advises staying put, especially after dark, unless you know the trail well and have a light (7). Make yourself easy to find: wear or wave bright clothing, blow a whistle, use a flashlight or camera flash at night (7). In daylight, moving to a visible clearing or open streambed can help air rescue - but only if you can get there without crossing dangerous terrain or water (1).
Frequently Asked Questions
- How much water should I bring hiking in Hawaii?
- Bring at least 1 liter of water per person per hour of hiking to stay hydrated and avoid heat exhaustion.
- What time should I start a hike in Hawaii?
- Start hiking by 8-9 a.m. and finish at least an hour before dusk to avoid heat and afternoon storms.
- Is it safe to hike in Hawaii after rain?
- Wait 24-48 hours after heavy rain before hiking waterfalls or valleys; streams remain swollen and dangerous.
- Can I hike in sneakers or sandals in Hawaii?
- No sandals or flip-flops; athletic shoes with good tread are acceptable for short, dry trails only.
- Is it legal to hike any trail in Hawaii?
- No; many social-media routes are closed or private. Stick to signed, managed trails from DLNR.
- What should I do if I get lost on a Hawaii trail?
- Stay put after dark, make yourself visible with bright clothing or a whistle, and call 911 with your location.
- Why is wearing bright clothing recommended for Hawaii hikes?
- Bright clothing helps rescuers spot you easily, especially in dense terrain or low visibility.