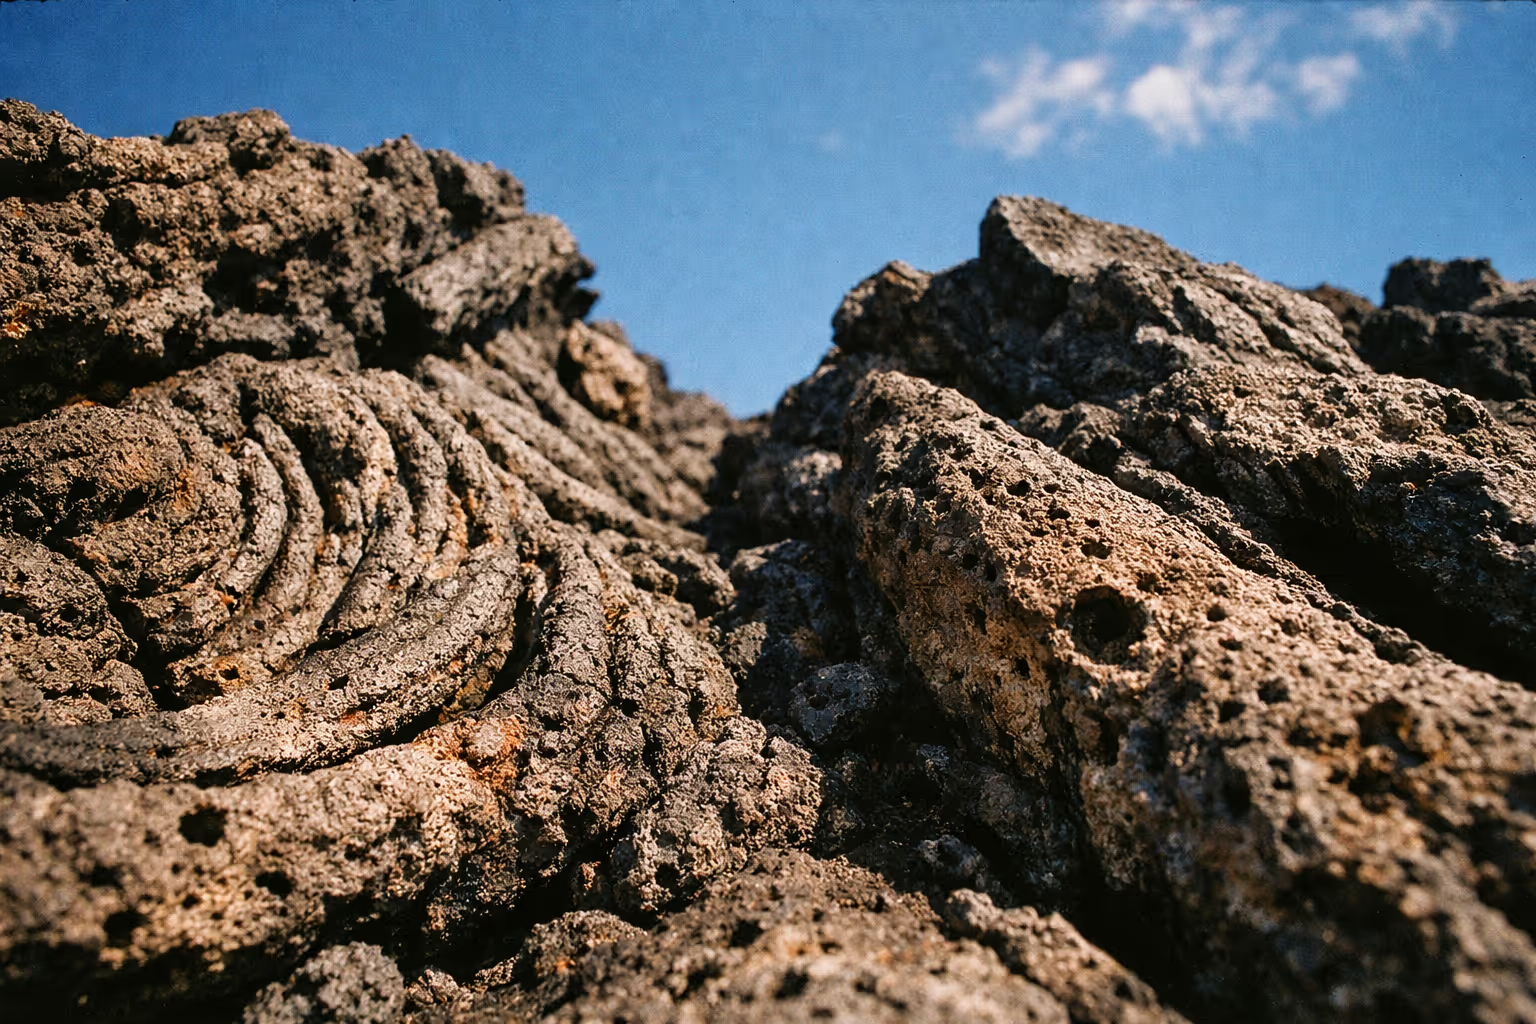
Hawaii volcano safety tips are the difference between a great hike and a rescue call off Kilauea. Start with the air: an N95 stops ash but not volcanic gas, so check the vog forecast within a day of hiking and keep routes upwind of active vents. On the ground, wear real boots with ankle support: sharp lava slices thin soles and smooth ones skid on loose plates. Carry two to three liters, and reach the Kilauea Iki trailhead before 8 a.m. or the lot is gone.
Hawaii Volcano Safety Tips: What to Wear Hiking a Volcano, Lava Flow Safety Precautions, and More
When preparing for a volcano hike, knowing Hawaii volcano safety tips is essential to ensure your comfort, protection, and visibility on the trail. Volcano hiking isn’t about style - it’s about covering your skin, gripping the rocky terrain, and being easy to spot if the light fades.
Start with long pants and long-sleeved shirts made from breathable fabrics to shield your skin from the strong Hawaiian sun and occasional volcanic ash. A UPF 50+ sun shirt like the Columbia Silver Ridge ($45-$70) handles both and dries quickly.
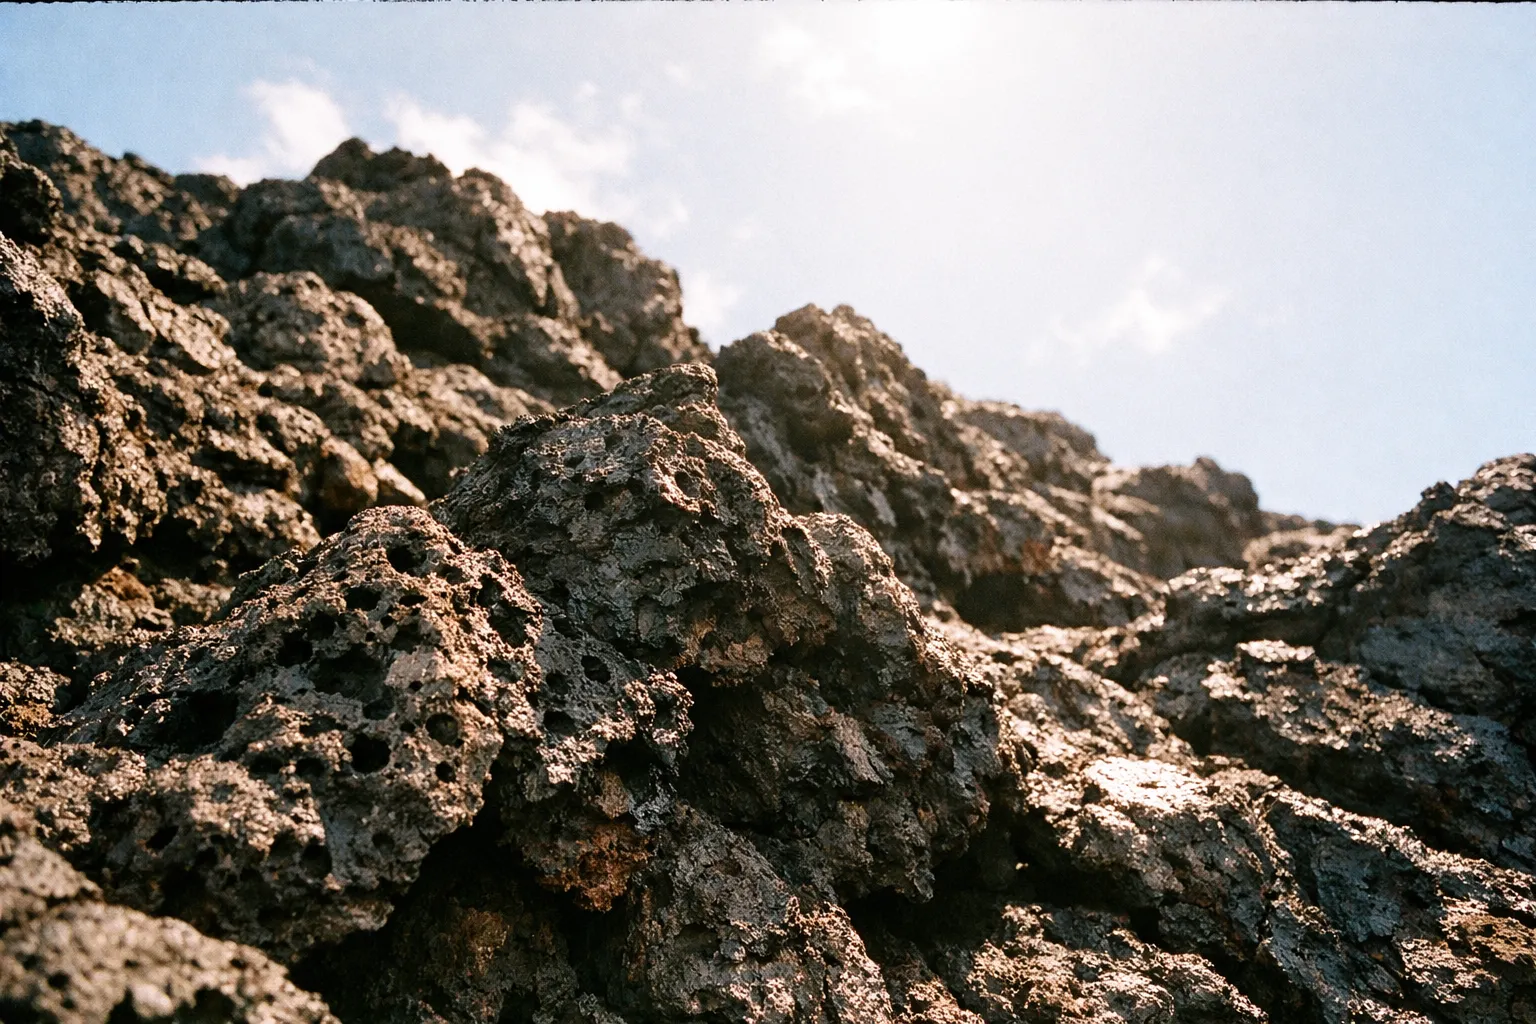
Sturdy hiking boots are essential. Sharp lava rock will slice through thin sneaker soles, and smooth-soled shoes or sandals turn loose lava plates into slip hazards (2). Boots with solid tread and ankle support - like the Salomon X Ultra 4 or Merrell Moab 3, priced around $110-$150 - make scrambling over rubble manageable. Gloves are also useful for protecting your hands from cuts and scrapes.
Your volcano hiking gear should include:
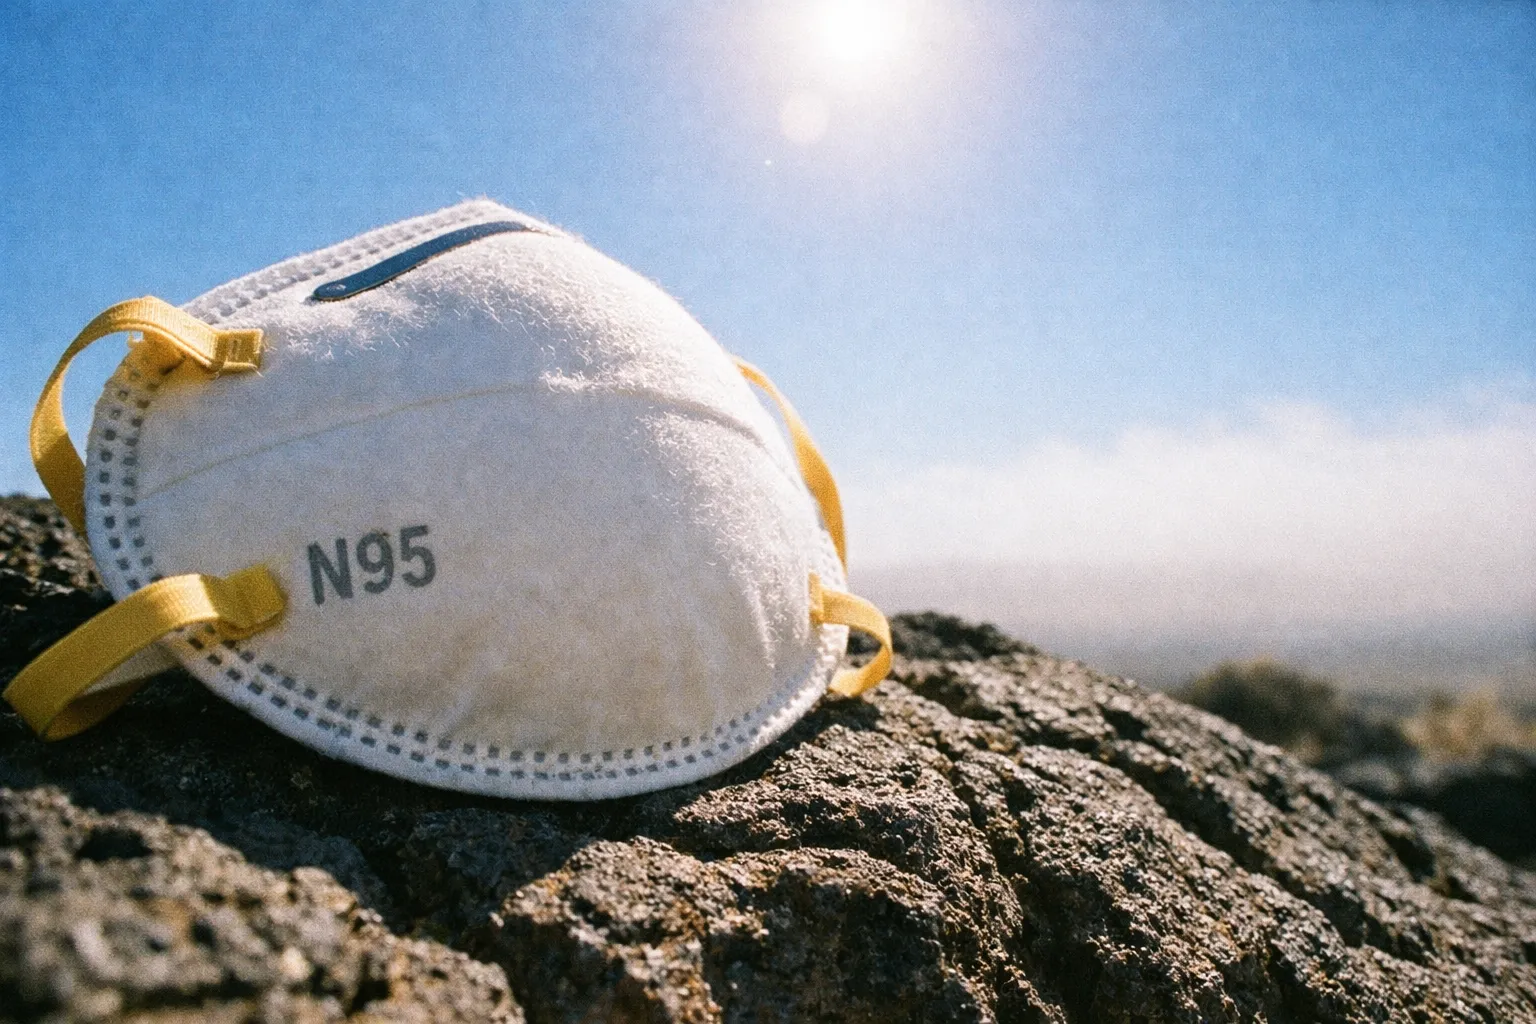
- NIOSH-approved N95 masks - a box of 20 costs $20-$30. These protect against volcanic ash but not gases (9).
- Safety goggles or eye protection ($10-$25) - Pele’s hair, those fine strands of volcanic glass drifting downwind, irritate eyes and skin.
- A high-visibility layer - in smoky or low-light conditions, a bright vest helps rescuers spot you from a distance (10).
One common mistake in other guides: recommending respirators for vog protection. The Hawaiʻi Department of Health does not advise respirators for the general public against volcanic gases (8). Masks protect against ash, not gas. Don’t let them give you a false sense of safety in a high-vog zone.
Checking Air Quality and Vog Protection in Hawaii Before Your Hike
Vog - volcanic smog - is the hazard most visitors underestimate. Tiny sulfur particles can travel 10 to 50 miles downwind. What looks like harmless haze can trigger asthma attacks, bronchitis, and heart problems.
Here’s a straightforward rule for vog protection Hawaii hikers:
- AQI under 50 (green): outdoor activity is generally safe.
- AQI over 100 (orange): use caution; sensitive groups should limit exposure.
- AQI 150 or higher (red): outdoor exposure may be unsafe during elevated vog events (4).
Check the Hawaiʻi Department of Health vog forecast within 24 hours before your hike and again the morning of. Wind direction matters - the DOH consistently notes that positioning yourself upwind of active vents meaningfully reduces exposure compared to standing downwind, though the precise reduction varies with emission levels and terrain.
If you have asthma, COPD, heart disease, or are pregnant, watch high-gas days closely and carry your medications. If symptoms appear, seek medical advice promptly (4)(8). The DOH warns that even during pauses in lava flow, high SO₂ emissions can create widespread vog, recommending reduced outdoor activity and indoor air recirculation (8).
Kilauea Iki Crater Trail: specs and timing
The kilauea Iki crater Trail is the park’s signature day hike for a reason - you drop through rainforest to cross a crater floor that was a lava lake in 1959.
The numbers: 3.4 miles (5.5 km) round trip, about 400 feet (122 m) of descent and ascent, rated moderate-to-challenging by the NPS (3). Expect 2-3 hours if you’re fit, up to 4 with photo stops, averaging 1.5-2 mph on uneven lava (3).
Booking mechanics to note: parking at the Kīlauea Iki Overlook is, according to the NPS, “extremely limited” - just a few dozen spots that fill by 9-10 a.m. (3). I’ve seen late arrivals turned away to distant lots, adding a half-mile to a mile of road walking each way. Starting before 8 a.m. helps avoid the parking crunch and the midday heat. The open crater floor gets significantly hotter than the surrounding forest - surfaces reflect radiant heat, and midday temperatures on exposed lava can feel substantially warmer than the ambient air temperature, so early or near-sunset hikes make a real difference.
Bring 2-3 liters of water per person for the loop - crater surfaces reflect heat, pushing apparent temperatures 5-10°F higher. Too many hikers show up with less than a liter and end up dehydrated on what should be a 2-4 hour walk (3). Pack a headlamp and rain gear even for this short hike; delays happen, and you don’t want to be picking your way across lava plates in the dark.
How to Prepare for and Hike the Kīlauea Iki Crater Trail
2 to 4 hoursStep-by-step guidance for a safe and efficient hike on the Kīlauea Iki Crater Trail
- 1
Start Early
Arrive before 8 a.m. to secure limited parking and avoid midday heat on the exposed crater floor.
- 2
Dress Appropriately
Wear long pants, long sleeves, sturdy hiking boots, and bring a high-visibility layer.
- 3
Pack Essentials
Carry 2-3 liters of water, snacks, a headlamp, rain gear, N95 mask, and goggles.
- 4
Check Vog and Weather
Review the vog forecast and weather conditions within 24 hours and again the morning of your hike.
- 5
Stay on Marked Trails
Follow official paths and respect closed areas for your safety.
Staying Safe by Avoiding Active Lava Flows
Watching lava move is rare. Getting close to an active flow is a bet you won’t win.
Heat alone causes severe burns. The ground near flows can be unstable - hollow chambers form under crusts that look solid until they collapse. The NPS is clear: stay away from cliffs, cracks, and steam vents; stick to open trails; and never enter closed or restricted areas. The risks include serious injury or death from falls, toxic gas, and sudden ground collapse (2).
Lava flow safety precautions also mean respecting what happens when lava meets water. The reaction creates a steam plume laced with tiny volcanic glass particles that irritate eyes, skin, and lungs. Watch from designated viewing areas - you get the view and photos without risking your safety.
One tip from Outside magazine: when activity shifts, don’t waste time filming it. A one-to-two-minute delay to capture video can cut your evacuation options when hazards develop fast (10). Avoid valleys during eruptions - they channel lava and lahars, so stay on higher ground to stay out of the flow path (10).
Volcano preparedness: Go-Kits, Stay-at-Home kits, and eruption response
Most travel guides stop at hiking gear, but agencies like the Red Cross, USGS, and CDC go further. Their preparedness framework is worth adopting whether you live on the Big Island or are visiting for a week.
Build two kits. The Red Cross and USGS recommend a portable Go-Kit and a larger Stay-at-Home kit, so you’re ready whether you need to evacuate quickly or shelter in place (7)(9).
- Go-Kit (carry on your person or keep by the door): water, non-perishable food, N95 masks, goggles, headlamp, first aid, and backup chargers for your phone and medical devices like a CPAP.
- Stay-at-Home kit (for sheltering 3+ days): at least 1 gallon of water per person per day - minimum three gallons per person - plus a 3-day food supply, first aid, and spare batteries.
What to do during a volcanic eruption in Hawaii boils down to five key steps, all backed by the Red Cross, USGS, and NPS (2)(7)(9):
- Follow official orders. Evacuate immediately if told - closed areas are off-limits for a reason.
- Protect lungs and eyes. Wear an N95 for ash and goggles for volcanic glass; get indoors if possible.
- Control indoor air. Close windows and doors, set AC or fans to recirculate rather than pull in outside air - this can cut indoor ash by over 50%.
- Don’t drive through heavy ashfall. Ash clogs filters, drops visibility below 100 meters, and makes roads slick; wait for clearance.
- Stay informed and shelter in place if told. Use your 3-day kit rather than risking impassable roads.
Check the USGS Volcano Hazards Program, the HVNP site, and Hawaiʻi DOH vog alerts for real-time updates. USGS preparedness resources emphasize knowing your local hazard zones and assembling kits before an event, not during (7).
Heeding local advice and warnings
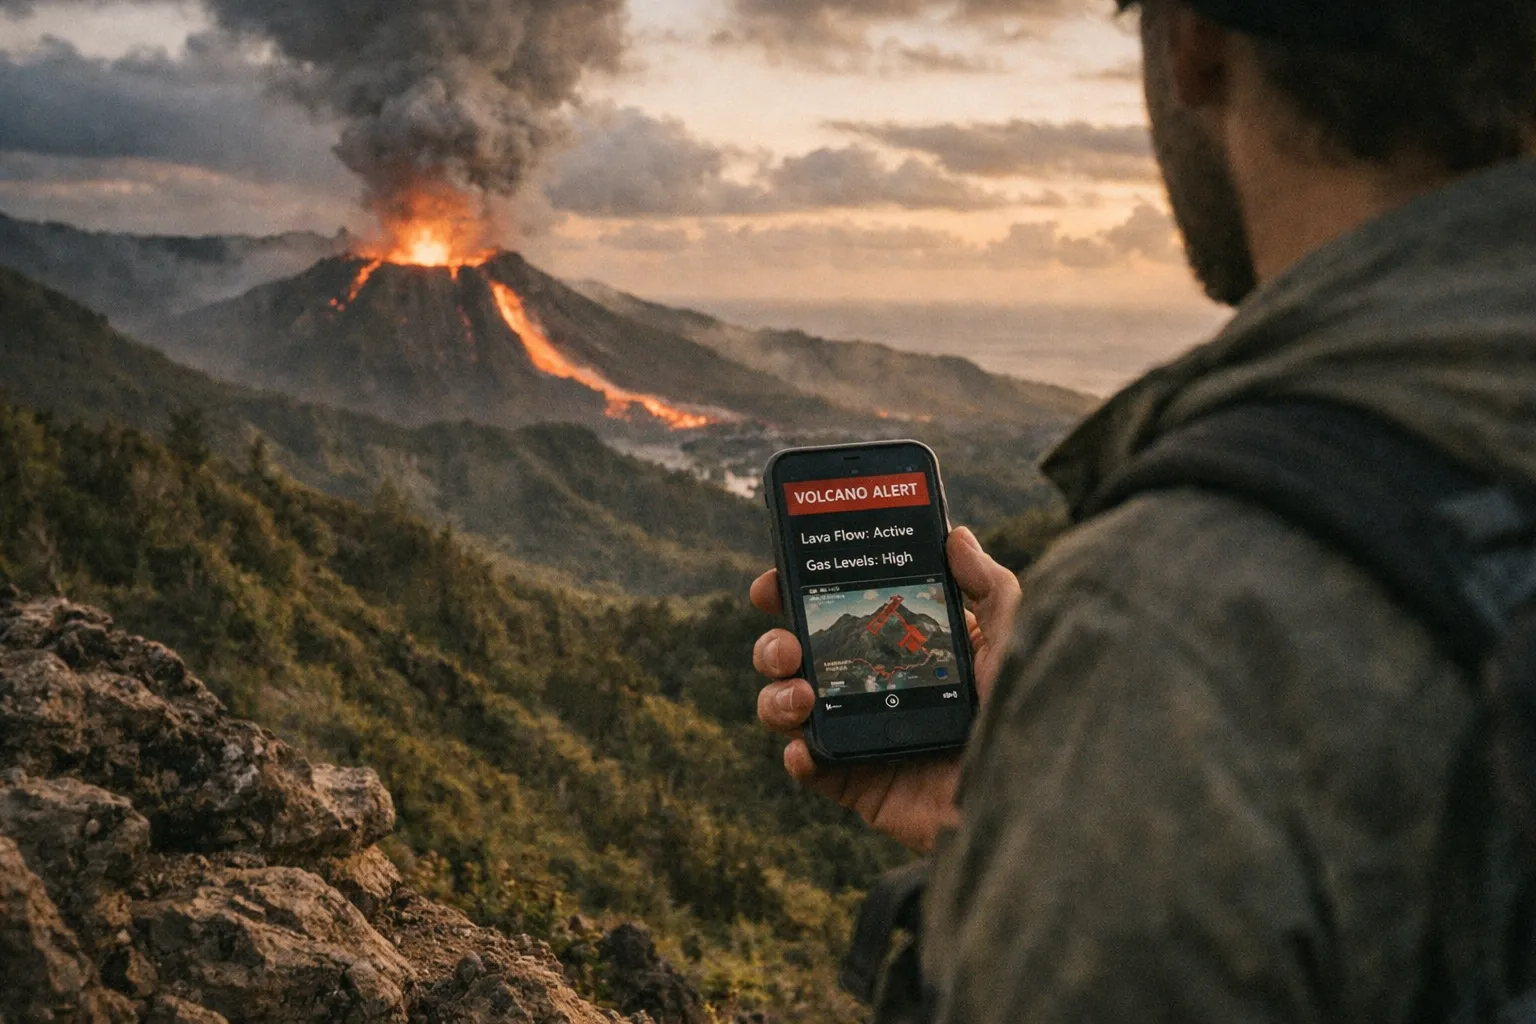
Volcano conditions shift hourly, and those paid to watch them know more than any forecast you’ll find.
Listen to park rangers and local officials - that’s the difference between a safe hike and a risky one.
Keep tabs on official sources: USGS Volcano Hazards Program, Hawaiʻi Volcanoes National Park, and DOH air-quality alerts. If an area is closed, it’s for a reason. During Kīlauea’s active periods, the NPS repeatedly warns visitors to stay on trails, avoid closed zones, and keep children close along the Crater Rim Trail, where gas and unstable cliffs pose real hazards (1)(2)(5).
Technology helps. Download offline maps before you lose signal. I recommend a location-sharing tool like what3words - rescuers say it can cut search times from hours to minutes in areas with spotty coverage (10).
What to pack for the trail: preparation is vital
Being prepared matters more on volcanic terrain than most places.
- Water: 2-3 liters per person for a half-day crater hike; dehydration is the most common issue.
- Snacks: 500-1,000 kcal to keep energy up.
- First-aid kit: for cuts from sharp rock.
- Flashlight or headlamp: even if you plan to finish before dark.
- Fully charged phone and portable charger: GPS and lifeline if things go wrong.
- Sunscreen and a wide-brimmed hat: the Hawaiian sun can turn a mild burn into a miserable descent.
You don’t need specialty gear to hike safely. Running shoes and a basic daypack work on easier trails; prioritize water, sun protection, and sticking to open routes. Skip $80-$200 trekking poles unless you’re doing long, rough lava traverses. Your must-buys are N95 masks and goggles - under $60 total.
Respecting Hawaii’s cultural and natural heritage
Hawaii’s landscapes carry cultural significance. Respecting sacred sites and local customs matters as much as any safety rule.
Know the importance of the places you walk through. Don’t remove rocks or sand - these small acts show respect. Trips that take the time to understand a place’s history are more rewarding than those focused only on photos. If you want to explore beyond the volcano, there are hidden gems in Hawaii worth seeking out, from ancient petroglyphs to quiet upcountry towns that rarely appear in mainstream itineraries.
Frequently Asked Questions
- What are the safety precautions during a volcano eruption in Hawaii?
- Stay on open trails and out of closed zones; wear N95 masks and goggles; limit outdoor time when AQI is high; keep medications ready for respiratory issues.
- What are 5 things you should do during a volcanic eruption?
- Follow evacuation orders, protect lungs and eyes, get indoors with recirculated air, avoid driving in ashfall, and shelter in place with a 3-day kit if needed.
- Is it safe to travel to Hawaii with the volcano erupting?
- It is generally safe if lava isn't threatening infrastructure and you avoid closed areas; check USGS and DOH alerts within 24 hours of your visit.
- What will happen if Mount Spurr erupts?
- Mount Spurr's eruption mainly threatens Alaska with ash clouds and lahars; preparedness principles apply but guidance comes from Alaska Volcano Observatory.
- How can I reduce my risk of vog exposure while hiking?
- Check the vog forecast before hiking, plan routes upwind of vents, and avoid outdoor activity when AQI exceeds 100, especially if sensitive.
- What gear is essential for volcano hiking in Hawaii?
- Long pants and sleeves, sturdy boots, N95 masks, safety goggles, high-visibility clothing, and 2-3 liters of water per person are essential.
- Are respirators recommended for volcanic gas protection?
- No, respirators are not advised for the general public against volcanic gases; masks only protect against ash, not gases.
Short version: check the vog forecast the morning you hike, wear boots with grip and clothing that covers, carry more water than you think you need, and treat every closed sign as final. Build a Go-Kit if you’re staying more than a few days on the Big Island. Follow those rules, and Hawaii’s volcanoes offer one of the most striking hikes in the Americas - on your terms, not the volcano’s.